

This practical guide explains how to read and use tablature to play the ocarina with confidence. The modern 6-hole ocarina offers a range of about 17 notes, based on John Taylor’s work in the 1960s.
Goal: help beginners become independent musicians through clear instruction on fingerings, reading music, and “tu” articulation. Structured routines allow 85% of learners to make rapid progress in one month.
We will cover the differences between 6-hole and 12-hole models, hole numbering, basic fingerings, accidentals, reading sheet music, and a practice program. You will also find advice on reliable brands and digital tools such as MuseScore and tuners.
Tablature makes sheet music more accessible and helps you memorize fingerings without learning music theory. By the end, you will be able to learn your first melodies and simple pieces through a structured practice method.
To explore reading music further, learn how to read sheet music and get started effectively.
Why learn the 6-hole ocarina today?
This wind instrument appeals to players because it is simple and lets them enjoy familiar melodies quickly. You do not need any knowledge of music theory: even beginners can learn to play by following suitable tutorials and sheet music.
This small instrument develops coordination between breath and fingers and improves finger memory. Practicing for a few minutes each day builds concentration and quickly brings a sense of satisfaction.
- Accessibility: its portability and low cost make regular practice easier.
- Motivation: popular tunes such as Zelda’s Lullaby make music fun.
- Rapid progress: 68% of beginners correct their intonation within three weeks using a tuner.
The online community (OcarinaTabs, STL, Hindocarina) provides sheet music, tutorials, and helpful feedback. This ecosystem lets you learn the ocarina step by step and set realistic goals in a short time.
Understanding the 6-hole ocarina: features and how to choose one
Its history explains why today’s models offer a good balance between simplicity and range.
Its origins go back to pre-Columbian civilizations. The modern version took shape with Giuseppe Donati in 1853. John Taylor standardized the six-hole system in the 1960s, offering about 17 notes (10 natural notes and 7 accidentals).
Advantages of a six-hole model: fewer combinations, faster learning, and greater portability. For beginners, it is a practical, inexpensive choice.
Materials and accuracy
Ceramic produces a warm sound and offers good thermal stability; it costs €80 to €150. Plastic costs about €50; it is light, but sometimes develops condensation after 40 minutes.
Brands and checks
- Reliable brands: STL, Songbird, Focalink, Noble.
- Recommended retailers in France: Thomann, Songbird.
- Checks before buying: airtightness, finish, and warranty (2 years for ceramic).
| Criterion | Ceramic | Plastic |
|---|---|---|
| Sound | Warm | Neutral |
| Durability | Fragile | Resistant |
| Indicative price | €80 to €150 | About €50 |
| Recommended use | Studio precision | Playing on the go |
Warning: nearly 30% of the market consists of untuned copies, often intended as decorations. A good instrument has carefully sized holes and verified tuning.
6-hole ocarina tablature: fingering guide
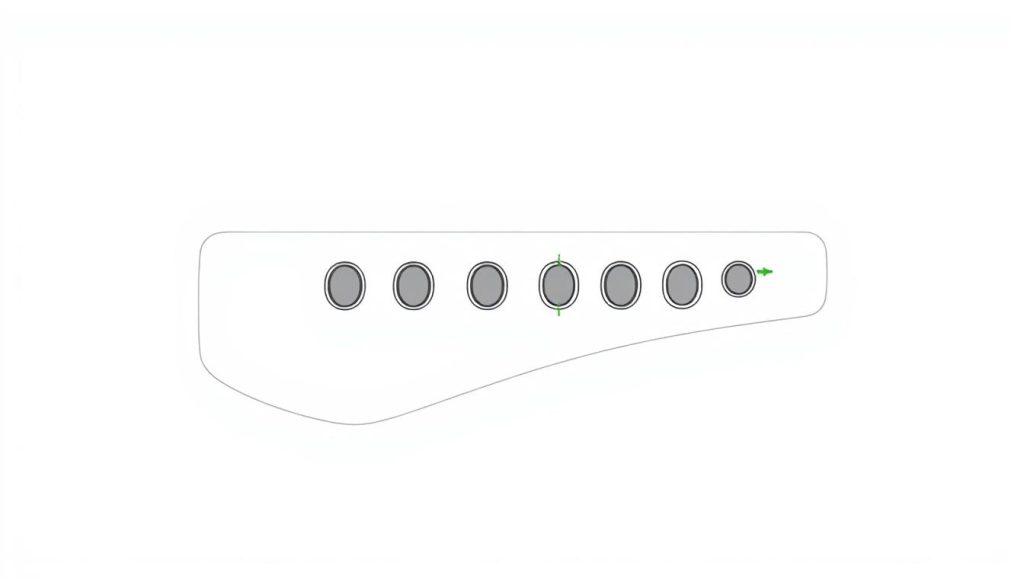
Read tablature from left to right and top to bottom. Diagrams show holes that are covered (black) or open (white). A line organizes the sequence; each symbol corresponds to a note and its duration.
Numbering and holding the instrument
The Taylor method numbers the front holes 1 to 4 and the thumb holes 5 and 6. Hold the instrument without squeezing it so the holes seal properly. Check the seal by covering every hole and blowing gently.
Essential symbols
- A dash = extension (1 dash ≈ 2 beats).
- A vertical bar = a separation or a breath.
- A brace = a phrase to play in one breath.
Adapting to your model
Tablature in C does not automatically transfer to a model in G or F. Check the key before applying the fingerings. The register (soprano or alto) does not affect fingering if the key stays the same.
| Element | Meaning | Practical tip |
|---|---|---|
| Hole diagram | Finger positions | Identify the black and white holes before blowing |
| Dash | Duration | Count the beats (1 dash = 2 beats) |
| Brace | Connected phrase | Play it in one breath |
Essential fingerings step by step: first notes and the C major scale
Start with simple fingerings to build finger memory and confidence. The recommended starting sequence is straightforward: play C with all holes covered, then uncover holes progressively to play D, E, and so on.
Progressive fingerings: from C with covered holes to notes with open holes
Starting position: cover all the holes for C. Then lift one finger at a time to ascend the major scale.
Practice slowly with a metronome at 60 BPM. Ascend and descend the scale for 10 minutes to secure each note.
Breath, “tu” articulation, and angle for steady high notes
Use “tu” articulation for clean note beginnings. Keep the airflow steady to avoid changes in intonation between neighboring notes.
- Tilt the instrument slightly downward for high notes to steady the pitch without forcing your breath.
- Lift your fingers gradually during transitions for a smooth sound.
- Pieces for applying this routine include Frère Jacques and simple melodies from Zelda.
Practical tip: record a short passage to listen to the connections between notes and improve your technique. Repeat this routine each day, and you will soon notice better intonation and musicality.
Accidentals and semitones on a 6-hole ocarina: practical techniques and precision
Semitones require precise finger placement and good breath control.
The half-holing technique involves partially covering a hole to produce a semitone. Adjust the coverage and seal carefully with your fingertip or fingernail. Precision comes from slow, repeated movements.
Half-holes and alternate fingerings
The thumbs (holes 5 and 6) help create alternate fingerings for sharps and flats. For example, you can produce F sharp by half-opening the fourth hole.
Controlled overblowing
Overblowing requires an increase of about 20% in airflow to produce harmonics. Increase it gradually to avoid a wrong note. Practice one accidental in isolation, then add it to a simple pattern.
- Example: produce F sharp by half-opening a hole, then move to G to check that the sound remains continuous.
- Tool: use a tuner (TonalEnergy, OcarinaTuner) to measure intonation.
Sheet music and tablature: how to read, choose, and find the best resources
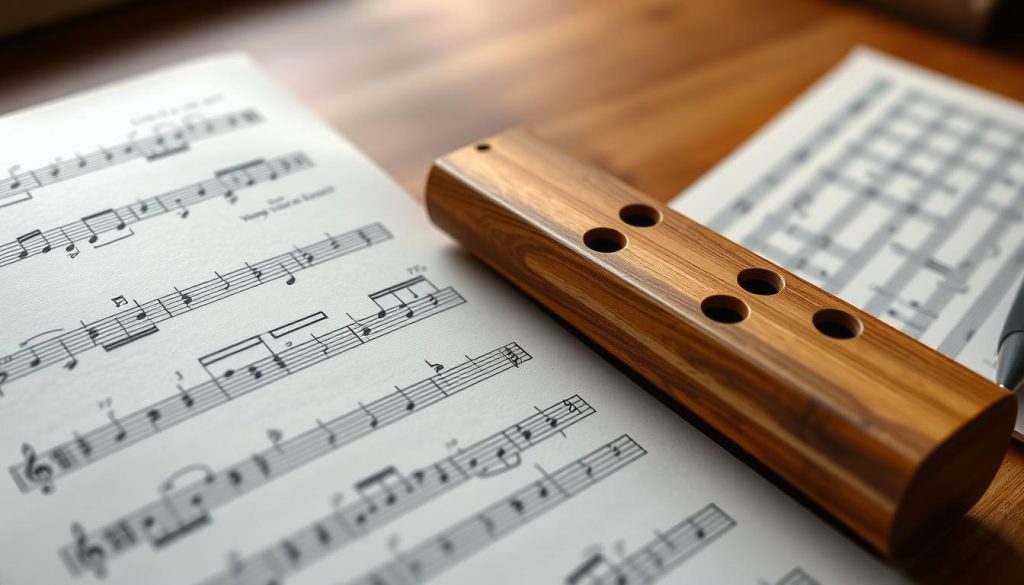
Pairing sheet music with a hole diagram helps you learn faster while checking your intonation.
Quick comparison: sheet music in treble clef shows note values (whole, half, quarter, and eighth notes), rests, augmentation dots, and beams. It conveys phrasing and precise rhythm.
Diagrams use ○ and ● to identify open and covered holes. Together, sheet music and diagrams provide a useful visual and rhythmic example for beginners.
Where to find reliable resources
- OcarinaTabs.org: a large collection (> 15,000 pieces).
- STL and Songbird collections: editions suited to beginners and intermediate players.
- Communities (forums and social networks) for discussion and feedback.
Recommended digital tools
MuseScore (v3.6+) lets you convert sheet music and tablature and edit symbols (triplets, repeats). For intonation, use TonalEnergy, OcarinaTuner, or Tuner T1.
Learning program: exercises, rhythm, and structured progress
A structured three-month plan helps you progress quickly without becoming discouraged.
Weeks 1 to 4: slow scales, rhythmic pyramids (4 quarter notes, 8 eighth notes, 16 sixteenth notes), and long notes (8 seconds) to develop breath control.
Weeks 5 to 8: ascending and descending chromatic runs and gradual tempo increases (from 50 to 80 BPM). Use a metronome during every session.
Weeks 9 to 12: add simple melodies (nursery rhymes and Zelda themes) and gradually move from diagrams to sheet music.
Schedule short, regular sessions (15 to 20 minutes a day). Keep a practice journal to record the tempos you reach, difficulties you encounter, and pieces you work on.
- Recommended tools: a metronome, tuner, MuseScore, and a resource to learn your first notes quickly.
- Expected benefit: a structured routine helps you make rapid progress (85% reported improvement in one month).
Choosing, caring for, and tuning your ocarina: ceramic or plastic and good habits
Choosing between ceramic and plastic affects sound, durability, and care. Here are practical criteria for buying in France and keeping your instrument in tune.
Buying criteria in France
Ceramic: warm sound, thermal stability, a price of €80 to €150, and often a 2-year warranty. Ideal for studio use.
Plastic: light, durable, and about €50. Expect condensation after roughly 40 minutes.
- Reliable brands: STL, Focalink, Noble.
- Recommended retailers: Thomann, Songbird.
- Checks: hole seals, finish, and warranty.
Care, storage, and tuning
After each session, dry the inside with a microfiber cloth or a pipe cleaner. For ceramic, occasional cleaning with 70% isopropyl alcohol preserves the surface; for plastic models, use a soft cloth and products that address condensation.
Store the instrument in a padded case at 20 to 25 °C and 40 to 60% humidity. Avoid sunlight and heat sources.
| Criterion | Ceramic | Plastic |
|---|---|---|
| Sound | Warm, rich | Neutral, clear |
| Durability | Fragile (handle with care) | Resistant (suitable for travel) |
| Condensation | Low | Appears after about 40 minutes |
| Indicative price | €80 to €150 | About €50 |
Example of a monthly routine: check intonation with TonalEnergy or Tuner T1, inspect the holes visually, and test their seals. Wipe the instrument after each session, too. This wind instrument remains sensitive to condensation: take breaks and wipe it down to maintain breath control and accurate intonation.
Conclusion
In short, five essentials are enough to master the basics: hand placement and fingerings, breath control, reading sheet music and tablature, practicing the major scale, and learning simple melodies.
Practice for 15 to 20 minutes a day to see real progress in 2 to 3 months. Use a metronome to steady the rhythm and melodic line.
Choose a suitable model, check its tuning, and care for your wind instrument to maintain the quality of your playing. Avoid untuned copies.
To get started or go further, consult this resource to learn to play. Progress step by step: read tablature, move on to sheet music, then learn accidentals and advanced techniques.