
Goal: guide you step by step through making an ocarina at home with a 3D printer. This article covers choosing a model, print settings, finishing, and tips drawn from actual prints.
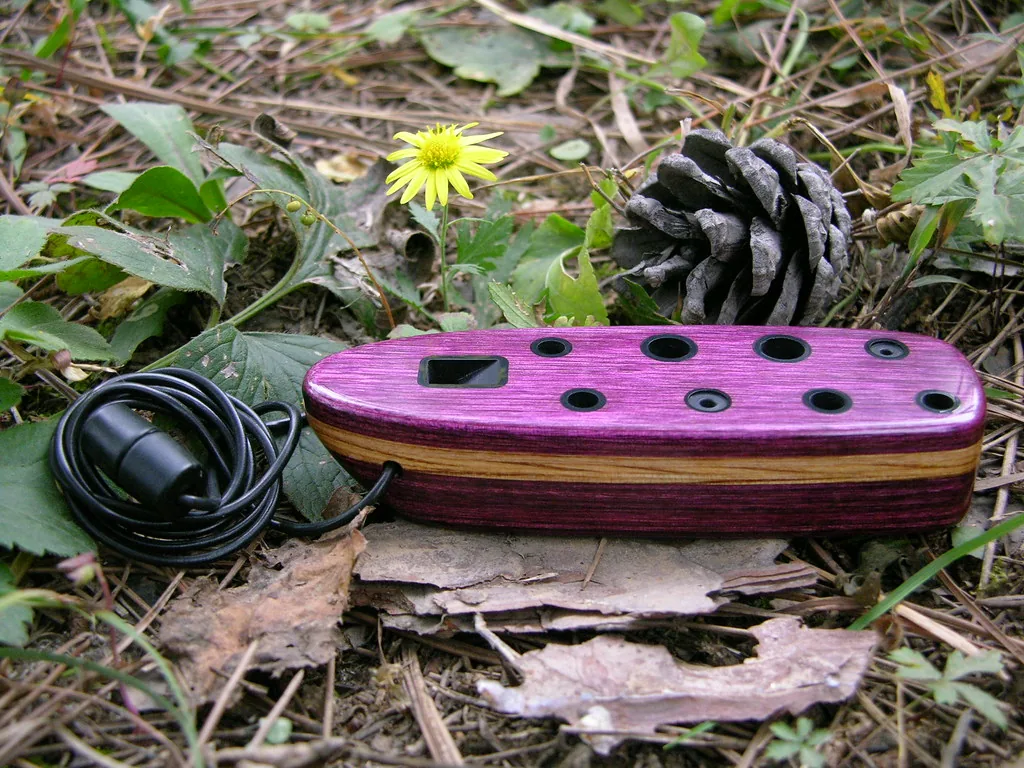
Background: the ocarina is a small wind instrument, often made of clay or ceramic. A reference model by Rob Beggs, printed in “Royal Blue” PLA and decorated with a painted symbol, shows that a single piece can produce a stable sound.
This guide takes the form of a list. Each part covers a key step: preparation, materials (PLA, PETG, ASA), print orientation, airtightness, sanding, and tuning.
Practical advantage: with the right model and accurate tolerances, the print works on most home printers. Sites such as Thingiverse and Printables host reliable files.
For makers, amateur musicians, and parents in France looking for a project the whole family can enjoy.
Why an ocarina is perfect for your first printed instrument
For a first attempt, a small instrument that is easy to make and play is ideal. The acoustic principle is simple: sound is produced when air strikes a sharp edge, as it does in many instruments in the woodwind family.
A simple wind instrument inspired by woodwinds
Woodwinds have a long history: the flute discovered by Ivan Turk shows that this principle has worked for millennia.
“The Neanderthal flute, dated to tens of thousands of years ago, reminds us how old breath-based techniques are.”
The same principle works with modern materials. You can therefore get a good sound even if the object is not made of wood.
Compact design and the option to print it in one piece
Its compact shape fits in the hand and lends itself to a single-piece print. That limits leaks and reduces the need for assembly.
- Simple internal design = fewer acoustic errors.
- Forgiving playing characteristics = ideal for beginners.
- Accurate holes remain essential for tuning.
In short, this project is accessible, engaging for the family, and quick to test. Before you start, consult a reputable site to choose a reliable, well-designed file.
3D Printing an Ocarina: Models and Tips
A good file makes all the difference: to its appearance, ergonomics, and ability to stay in tune. Rob Beggs’s model, printed in “Royal Blue” PLA and decorated with a Triforce symbol, is often used as a reference for its reliable tuning and its look inspired by Link’s world.
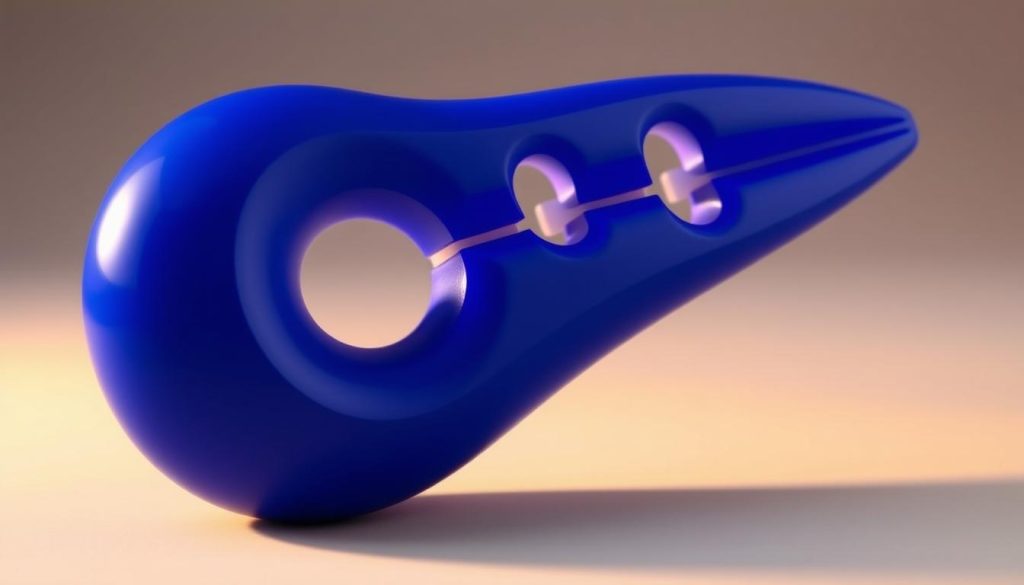
Choose a reputable site (Thingiverse or Printables) and read the comments before downloading. Other creators, including Nimaid, RobSoundtrack, Mystikal, and Mikolas Zuza, offer precise variations that let you compare shape and sound projection.
A single-piece construction reduces joints and tiny leaks. Even something as simple as wall thickness changes the tone and the stability of the tuning.
| Creator | Appearance | Sound characteristics | Use |
|---|---|---|---|
| Rob Beggs | Royal Blue, Triforce | Reliable tuning | Beginners and collectors |
| Nimaid | Compact | Projection | Performance and commercial use |
| RobSoundtrack / Mystikal | Decorative variations | Subtlety | Comparison tests |
Tip: look at 360° photos and cross-sections of the model before printing. Save several versions and record your settings so you can compare their response using the same breath pressure.
Prepare your print: shape, size, and holes
Before starting the print, check the file’s geometry. The shape, size, and placement of the holes directly affect pitch accuracy and playability.
Hole placement and its effect on tuning
The exact position of the holes determines the pitch of the notes: moving one by just a few tenths of a millimeter can put a note out of tune.
Do not move the openings for an aesthetic remix. Keep their original placement if you want to preserve the model’s tuning.
Resizing: what it changes for airflow and breath
Enlarging or shrinking the model changes the air column. A larger model often needs more breath and can be tiring to play.
First test the model at 100% before enlarging it. Print a flat template of the holes to check their position against your fingers.
- Pay attention to layer height and flow rate: FDM print accuracy affects the shape of the holes.
- Make sure the mouthpiece has a sharp edge: burrs disrupt the airflow.
- You can carefully deburr a hole that is too tight, removing only a little material.
- Add finger-position markers if the surface is very smooth.
Tip: document every print and your impressions of its sound so you can improve with each attempt.
Materials and sound: PLA, PETG, ASA, and what they offer
Different filaments produce slightly different sounds. Tests show that the choice of material affects rigidity, damping, and projection.
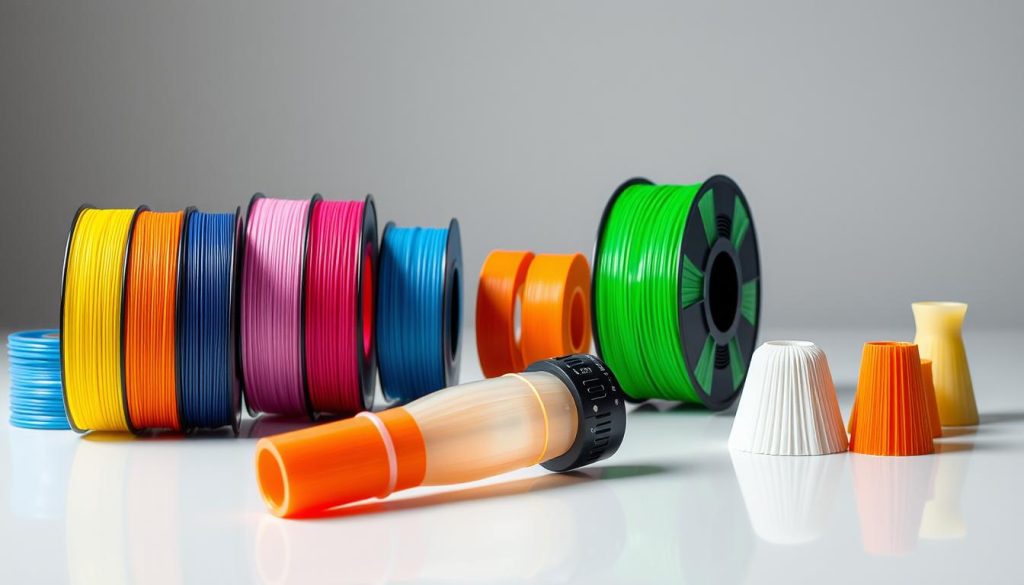
PLA / ASA: a slightly “warmer” sound
PLA and ASA produce a tone that is a little warmer. Their rigidity favors a gentle attack and a rounder sound.
PETG: a slightly “higher” tone
PETG can sound a little higher. The difference is subtle to an untrained ear, but becomes apparent in repeated comparisons.
Acetone smoothing for ASA
Smoothing ASA with acetone increases volume and clarity. The result: more projection and a clearer tone.
Do this outdoors, in a ventilated place away from flames: acetone can be dangerous.
- Practical advice: keep the same shape and print settings so you test only the material.
- Record the date, filament spool, and humidity level: these details affect the finish of small parts.
- Consult a supplier’s website for recommended temperatures and to reduce plastic stringing inside.
Print settings: supports, orientation, and print time
Print settings determine how clean the inside is and how well the instrument stays in tune. Good preparation limits touch-ups and protects the air chamber.
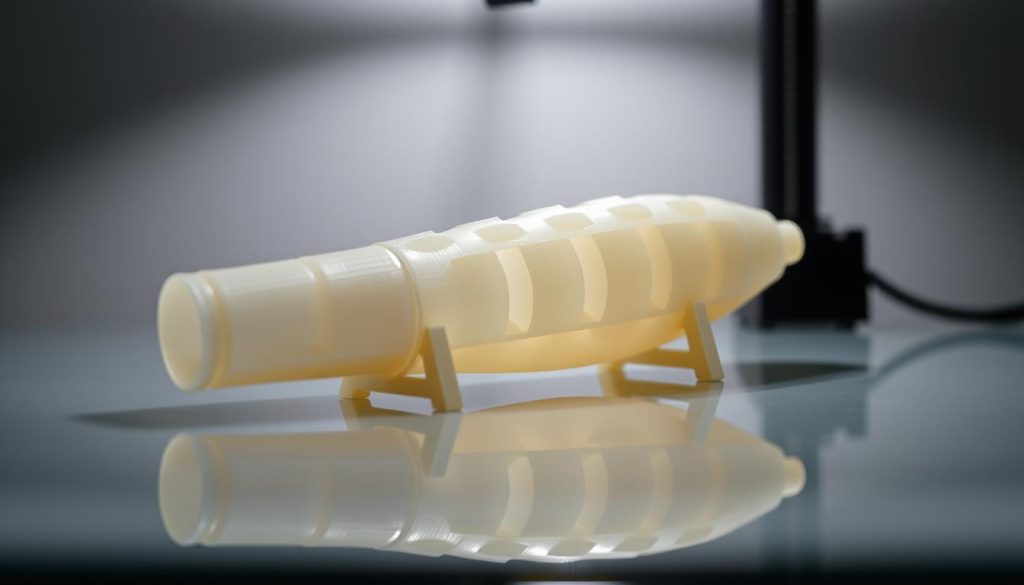
Add supports only beneath the first internal layers
Tip: place localized supports beneath the first internal bridges. They help prevent defects on the surface of the air chamber.
Orient the print to limit internal air leaks
Orient the piece so that the layers follow the airways. Continuous layers reduce microporosity and leaks.
Use a low layer height at the mouthpiece to obtain a sharp edge.
A few hours of printing on most printers
Printing generally takes a few hours, depending on the printer and profile. A comparable soprano recorder prints in about 4 hours using 60 g of filament.
- Use moderate speeds to obtain accurate hole outlines.
- Add a skirt or brim if the contact area is small.
- Check flow rate and temperature to limit stringing and blobs of plastic inside.
- Print a small test piece before the final version and check whether it blocks light and air.
Finishing and assembly: make the air chamber airtight
Good finishing corrects the fit and turns a raw print into a playable instrument.
Begin by inspecting the parts visually, then by touch. Look for burrs, layer lines, and contact areas. Check the fit without adhesive before making any changes.
Fine sanding of the joints
Sand in very light passes. Test the fit after each pass. If the joint is too tight, remove only a little material; if it is too loose, try the tape trick.
Practical tip: always protect the inside. Remove dust without leaving residue in the air chamber.
Use painter’s tape to fine-tune the fit
If the fit is slightly loose, wrap the male section with one or two turns of painter’s tape. It compresses during assembly and restores a precise fit.
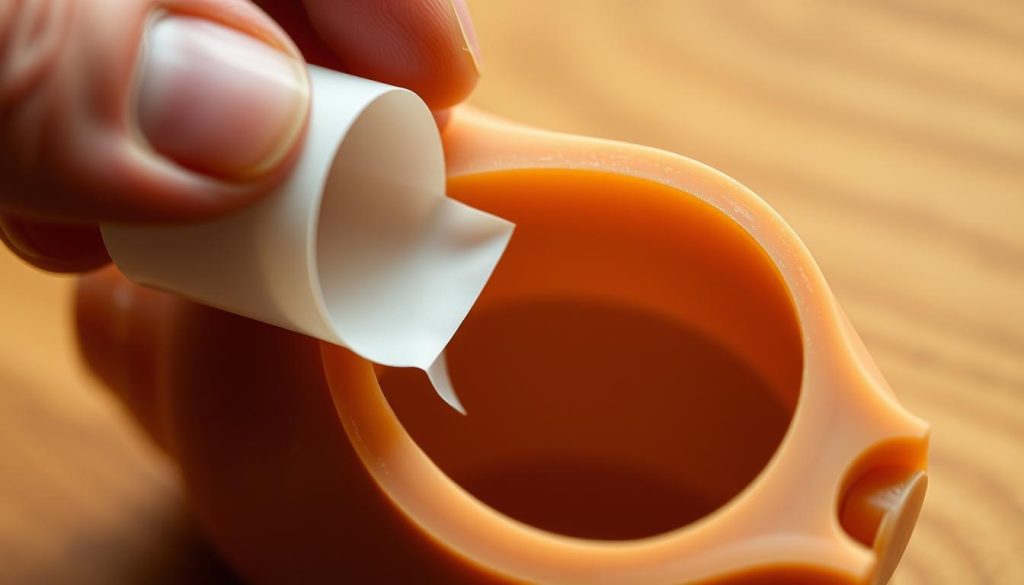
Then clean with a slightly damp cloth to remove sanding residue. Avoid getting water into the air chamber; dry it carefully.
- Gently polish the mouthpiece to obtain a sharp edge without rounding the bevel.
- Consider the model’s shape: identify the areas where airtightness matters most.
- After each small adjustment, test the sound note by note.
- For ASA, acetone smoothing can smooth the inside and improve projection. Do this outdoors.
| Problem | Action | Expected effect |
|---|---|---|
| Joint too tight | Sand in small passes | Close fit without strain |
| Joint too loose | One or two turns of painter’s tape | Compressible, airtight seal |
| Dust in the chamber | Wipe with a damp cloth | Clean interior, clear sound |
Be patient: take your time. A little effort at this stage can save you from reprinting and improve the final result.
Tuning and playability: can you play any song?
Many tests show that a well-printed, single-piece instrument plays in tune straight off the printer. Accurate holes and print quality often explain this stability.
Generally reliable tuning
If the file is well designed and the print is carefully made, the tuning can be reliable. Play complete scales to check the pitch.
Learning guides
Tutorials on a dedicated site offer sheet music and fingering charts. They can help you learn popular themes from Miyazaki, Zelda, or The Lord of the Rings.
- Play scales and intervals to check that the notes are consistent.
- Adjust your breath pressure to correct small pitch differences.
- Compare several models to find one that suits your hand.
- Some high notes are more sensitive: blow more gently.
- Record your attempts to track your progress over time.
“Step-by-step guides and simplified sheet music can help you play almost any song.”
Finally, create short practice routines and use the fingering charts shared by the community. You will soon be able to play engaging pieces that gradually increase in difficulty.
Customization: from “Triforce” blue to a Darth Vader style
Customization turns a functional piece into an object with a story. Rob Beggs’s model, printed in Royal Blue PLA and then decorated with a painted Triforce symbol, shows the effect of a careful finish.
Paint and decorative markings: choose acrylic paint and a matte varnish for a lasting design. Stencils help create crisp logos; use a reference photo to align the pattern.
Remix the shape without touching the holes: you can change the overall appearance, but never move the openings. This preserves the tuning and pitch accuracy.
- Effects: brushed, metallic, or weathered finishes (for example, a Darth Vader theme) create a richer look.
- Removable decorative tips: useful if the geometry allows them.
- Ideas: resin inlays, pearlescent paint, varnished decals.
Tip: find a reliable site for a base model, record your settings, and share a photo to inspire the community. You can create matching sets (Triforce blue, Darth Vader black) while preserving sound quality.
Troubleshooting: weak sound, difficult blowing, leaks, and other issues
When the sound lacks power, start by checking for leaks. Loose joints, tiny cracks, or a porous print may be the main cause.
Then carefully refine the mouthpiece edge. Removing burrs helps, but do not round the bevel: that weakens the sound response.
- Assess the size: an oversized model may need more breath; return to the original scale if necessary.
- Inspect the inside: marks left by supports create turbulence and reduce volume.
- Adjust the print settings: lower the speed and review the temperature and flow rate to improve accuracy.
- Check the print bed and adhesion: a misaligned first layer distorts the internal geometry.
Consider the printer’s condition: a worn nozzle or damp filament may be responsible. Sometimes the only solution is to print again under better conditions.
Practical tip: compare two consecutive prints to see what changed, and allow a few hours for a carefully prepared new attempt.
For families and children: safety, materials, and extended use
For families, this instrument makes a good creative afternoon project at home. It fits in the hand, is easy to store, and its compact shape makes it less likely to fall.
Choose the material and smooth the edges
Choose non-abrasive filaments (PLA, PETG, ASA) and sand the outer edges. Smooth edges reduce risks for children and make the instrument comfortable to hold.
Tip: lightly smooth the edges with fine sandpaper; this is enough to make the object safer without affecting its tuning.
- Supervise children during extended use to prevent hyperventilation.
- Involving the family in choosing colors and patterns makes the project more engaging for everyone.
- You can try protective tips or a varnish suitable for food contact.
- Clean the instrument regularly after shared use to keep it hygienic.
Adjust the size for small hands if needed, but test it: a larger model needs more breath. Start with short, playful sessions, then gradually make them longer.
“Familiar themes are motivating: Zelda or fantasy can bring the whole family together.”
Conclusion
Quick recap: a few good practices are enough to make a convincing instrument.
Choosing a reliable model, paying attention to orientation, and limiting supports to the first layers help preserve the air chamber. A clean, consistent print often ensures stable tuning in a single-piece instrument.
Filaments differ: PLA and ASA offer a warmer tone, while PETG seems slightly brighter; smoothing ASA with acetone can increase volume and clarity.
The cost is low compared with a commercially made instrument, parts can be reprinted, and the project has great educational value as a family activity. Test a reference file, document each attempt, adjust the settings, and try again.
Before downloading, check the license and reviews on the site; accept cookies if necessary. In short, this article shows that with little equipment and a few hours of learning, you can quickly make your own instrument and play it.